
Moving a grandfather clock can feel overwhelming at first. These clocks are more than just timekeepers; they’re often cherished pieces that require extra care. Proper handling is essential because of their intricate mechanisms and tall, delicate frames. The best moving companies in Miami recommend a clear, step-by-step plan to keep every part of the clock safe during the move. This guide will walk you through the process of moving a grandfather clock with confidence, ensuring it arrives at its new home in perfect condition.
How Do You Prepare and Plan?
Preparation begins with assessing the path your grandfather clock will take on moving day. Measure the clock carefully, including its height, width, and depth. Then, measure all doorways, hallways, and staircases it will pass through to confirm it will fit. Don’t forget to account for angles, as turning a tall clock around a corner may require more clearance than you think. Pros offering moving services in Miami suggest clearing the path entirely before moving the clock. This means removing rugs, furniture, or anything else that could obstruct or trip you during the move.
Timing also matters. Choose a day with good weather if you’re moving the clock outdoors, as rain or humidity could damage its case or mechanisms. Ensure you have enough helpers, ideally, two to three people, to manage the clock’s weight and size. Heavy lifting is a team effort, and a grandfather clock can weigh anywhere from 200 to 300 pounds, depending on its size and materials. With these plans in place, you’ll have a solid foundation for moving your clock safely.
What Supplies Will You Need?
Having the right supplies on hand makes all the difference when handling a grandfather clock. Essential items include gloves to protect the clock’s surface from scratches or oils, heavy-duty moving blankets to cushion its case, and bubble wrap to protect the smaller components. Use strong packing tape to secure the blankets and ensure nothing shifts during transit. Sturdy boxes are critical for storing the pendulum, weights, and other removable parts. Finally, a dolly rated for heavy loads is invaluable for maneuvering the clock without straining yourself.
The finest interstate moving companies in Miami remind you that cutting corners on supplies increases the risk of damage. High-quality materials may cost more upfront but can save you from costly repairs later. A clock’s internal mechanisms are highly sensitive, and even a minor jolt can throw off its timing. Take the time to gather everything you need in advance so you’re fully prepared when moving day arrives.
Necessary Supplies
Preparing to move a grandfather clock starts with gathering the right supplies. Skipping any of these items can lead to costly damage or unnecessary stress. Here’s what you’ll need:
- Protective gloves: Prevent scratches or smudges on the clock’s wood and glass.
- Heavy-duty moving blankets: Cushion the case and protect it from impacts or scratches.
- Bubble wrap: Wrap smaller, delicate components like the pendulum and weights.
- Packing tape: Secure blankets and bubble wrap in place to prevent shifting.
- Sturdy boxes: Store the clock’s removable parts, ensuring they are well-protected.
- Dolly rated for heavy loads: Safely maneuver the clock without straining yourself or risking damage.
- Corner protectors: Add extra cushioning for sharp edges to avoid chips or dents.
- Soft padding or foam inserts: Stabilize the clock’s internal mechanisms during transport.

How Should You Disassemble the Clock?
Disassembling your grandfather clock is one of the most critical steps in the process. First, remove the pendulum, which is often the most fragile component. Open the clock’s door, gently lift the pendulum from its suspension spring, and place it in a padded box. Next, remove the weights, ensuring you label them as left, center, and right. Each weight has a specific role in the clock’s operation and must be reassembled correctly.
Detach the cables or chains carefully, ensuring they don’t tangle. Secure them with a soft cloth or tape to prevent movement during transit. Long distance movers in Florida suggest taking photos of the clock’s interior before disassembly. These images will serve as a helpful reference when reassembling it later. Handle every piece with care, as even small scratches or dents can affect the clock’s value and function.
Why Should You Label Components?
Labeling is essential for keeping everything organized. A grandfather clock’s parts are not interchangeable, so proper labeling ensures a seamless reassembly. Use adhesive labels or masking tape to mark each component clearly. Write “left,” “center,” and “right” on the weights and note where other pieces, like the pendulum and chime rods, belong.
Professional residential movers in Florida emphasize the importance of keeping small parts, like screws or suspension springs, in a separate bag. Label this bag and place it in the same box as the pendulum and weights. This prevents anything from getting misplaced. Accurate labeling might seem tedious, but it saves you time and frustration when putting the clock back together.
How Do You Secure Internal Mechanisms?
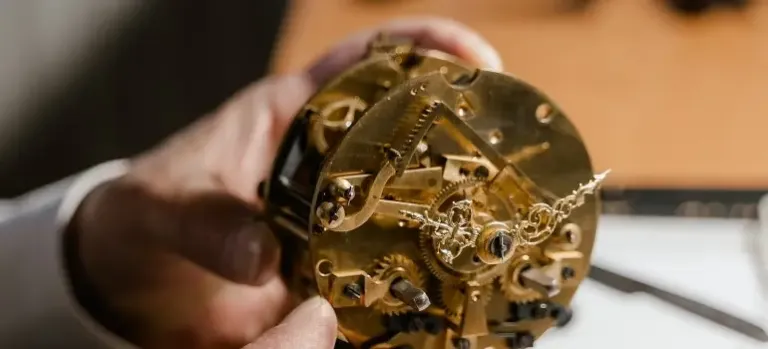
The internal mechanisms of a grandfather clock are its most delicate and essential parts, including the chime rods, hammers, cables, and chains. Properly secure these components when moving a grandfather clock to ensure it remains fully functional after the move. Even slight movement during transport can cause misalignment or permanent damage to these intricate parts. Begin by carefully wrapping the chime rods in foam padding or soft cloth. This layer should be thick enough to absorb any impact and prevent scratches. Use additional padding for the hammers to keep them stable. The cables or chains must be secured to avoid tangling or swinging during transit. A soft, non-abrasive material like cloth tape or reusable twist ties works best for holding these components in place.
Before sealing the clock case, double-check that all parts are immobilized. Shift the clock gently to test for movement inside. Moving companies in Miami Dade emphasize that even a small jolt can disrupt the balance of these mechanisms, leading to extensive repairs. Once satisfied, wrap the clock case with protective materials to add another layer of stability. Taking these steps ensures your clock’s internal mechanisms remain secure and fully functional throughout the move.
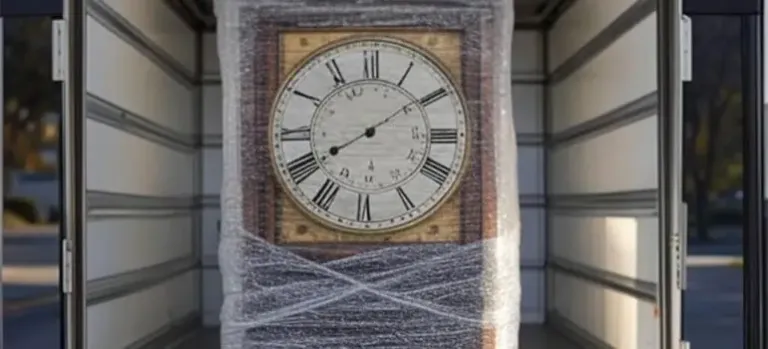
How Should You Protect the Clock Case?
The clock’s case is more than just a decorative exterior; it safeguards the delicate mechanisms inside. To protect it during your move, wrap the entire case with thick moving blankets. Secure the blankets snugly using high-quality packing tape, ensuring there are no loose sections that could shift or catch on anything. For clocks with glass panels, wrap these areas with a layer of bubble wrap first before covering the rest of the case with blankets.
Experienced movers in North Miami FL emphasize avoiding direct contact between adhesive materials and the clock’s surface. Tape can leave sticky residue or damage wood finishes, and it should only be applied to the protective wrapping. Adding corner protectors can provide extra cushioning for sharp edges and corners. Taking the time to wrap and secure the case properly will shield it from scratches, dents, and other potential damage during transit.
What Equipment Do You Need?
Transporting a grandfather clock without the right equipment can lead to unnecessary risks. One essential tool is a heavy-duty dolly. Choose one designed to handle the clock’s weight, which often ranges between 200 to 300 pounds. Ensure the dolly is equipped with sturdy straps to hold the clock securely in place as you move it. Additionally, a set of furniture sliders can be helpful for maneuvering the clock short distances across floors without lifting.
Movers in Miami Beach recommend always keeping the clock upright throughout the move. Tilting it horizontally can disrupt the internal mechanisms and lead to permanent damage. A thick layer of padding on the dolly and any additional straps will prevent the clock from shifting or tipping. Carefully guide the dolly over thresholds and uneven surfaces to maintain stability. Using the right equipment not only protects the clock but also reduces strain on those handling it.
Tools to Make the Job Easier
Using the right equipment is essential, but a few additional tools can make moving a grandfather clock even safer and more efficient. These items help minimize the risk of damage while reducing the physical strain involved in the process. Here’s a list of tools that can enhance your preparation:
- Heavy-duty straps: Secure the clock to the dolly or any other moving equipment to prevent it from shifting during transport. Adjustable straps allow for a snug fit around the clock.
- Furniture blankets: Use these in addition to padding to cover the clock while it’s on the dolly, providing an extra layer of protection from scratches or bumps.
- Protective corner guards: Place these on the clock’s edges to protect sharp corners from chipping or denting.
- Non-slip gloves: These improve grip while handling the clock and reduce the chances of accidental slips.
- Wooden planks or ramps: Use planks or ramps to create smooth transitions over uneven surfaces or thresholds, making it easier to guide the dolly.
- Rubber-wheeled dolly: Choose a dolly with rubber wheels to ensure smooth rolling on a variety of surfaces without damaging floors.
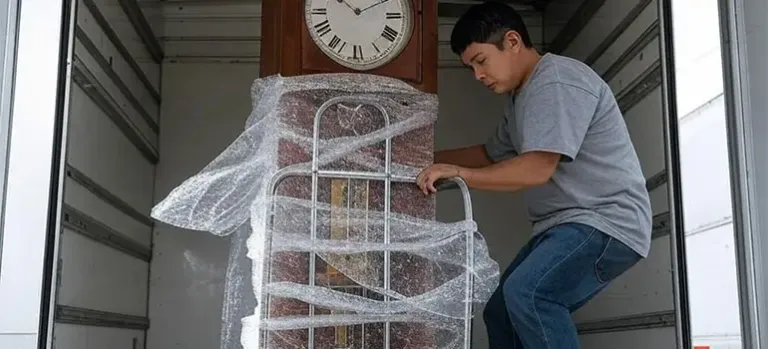
How Do You Load and Transport the Clock?
Loading a grandfather clock into a moving vehicle requires patience and attention to detail. Use a ramp or liftgate to avoid lifting the clock manually, reducing the risk of injury and accidental drops. Once inside the truck, place the clock upright against a secure wall or partition. Anchor it firmly using heavy-duty straps to prevent movement during transit.
Padding is essential. Surround the clock with moving blankets, foam, or cushions to absorb any vibrations or bumps. Drive carefully, as sudden stops or sharp turns could cause the clock to shift or tilt. Extreme temperatures can also damage the clock, so use a climate-controlled vehicle if possible. Keeping the interior of the truck at a stable temperature will prevent warping of the wood or other materials. A properly loaded and well-protected clock will arrive in excellent condition, ready for reassembly.
How Do You Reassemble the Clock?
After safely transporting the clock to its new location, reassembly begins. Unpack the clock carefully, inspecting each part for any signs of damage. Before attaching any components, ensure the clock is placed on a level surface. Use a carpenter’s level to check the base and make precise adjustments as needed. A level base is crucial for the clock to function properly and maintain accurate timekeeping.
Refer to any photos or notes you took during disassembly to guide you in reattaching the pendulum, weights, and other components. Attach each weight to its correct position, typically marked as left, center, and right. Double-check that the pendulum is properly suspended and swings freely without obstruction. Patience during this step ensures the clock is set up correctly for operation.
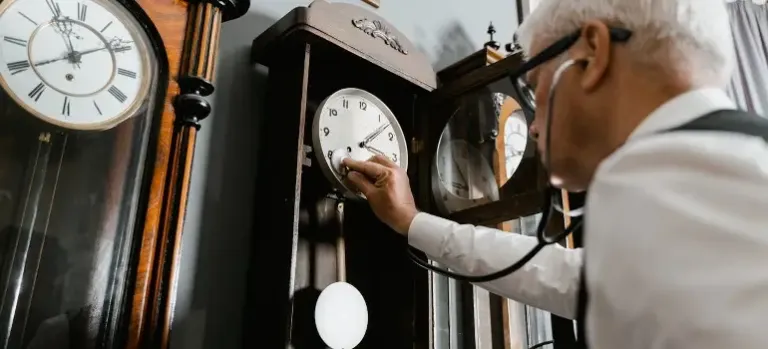
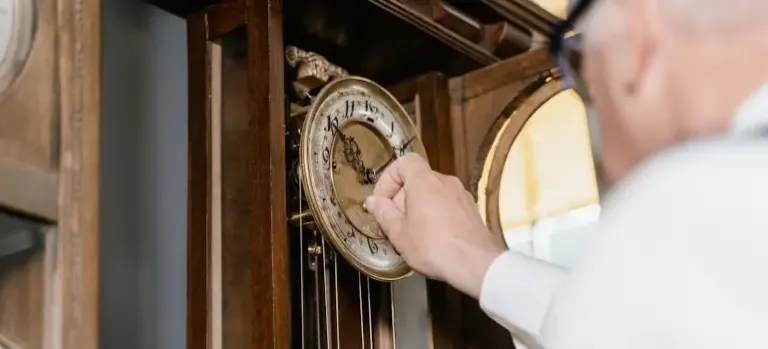
How Do You Test and Calibrate the Clock?
Testing and calibrating your grandfather clock is the final step. Set the clock to the correct time and gently start the pendulum. Observe its movement and listen for the chimes. Irregularities in the sound or timing could indicate minor adjustments are needed. For instance, if the clock runs too fast or slow, adjust the pendulum’s length by turning the regulating nut.
Let the clock run for 24 to 48 hours to monitor its performance. This trial period allows you to identify and address any potential issues before settling it permanently into its new location. Regular maintenance and careful calibration ensure your clock continues to function beautifully for years to come. A properly tested and adjusted clock is the perfect finishing touch to your successful move.
Why Proper Handling Is Essential When Moving a Grandfather Clock
Proper handling is the cornerstone of successfully moving a grandfather clock without damage. These intricate timepieces are not only valuable but also highly delicate. Every step, from disassembly to transport and reassembly, directly impacts their functionality and appearance. Careful planning ensures the clock’s internal mechanisms remain intact, its case stays unscathed, and its overall condition is preserved. Also, rushing through the process or neglecting key steps can lead to costly repairs or permanent damage. Securing internal components, using high-quality packing materials, and employing the right tools are all essential for a smooth and safe move. Testing and calibrating the clock after reassembly ensures it continues to run accurately and beautifully in its new location.


